(iOS PWA + OpenWebUI + Cloudflare Tunnel + LM Studio + gpt-oss-20b + Notion MCP Server )
I use LLMs every day for engineering work: they’re helping me find bugs, navigate new codebases, and write code faster. I also use LLMs in my personal life: quick answers about general knowledge, cooking and recipe substitutions, grammar analysis for my writing. I’m fascinated by the almost infinite configuration tweaks and model options.
I think that the open source/weight LLM ecosystem is massively important, but at the same time, I’ve found myself to be a hypocrite. I’m strongly in favor of the models but I haven’t been actually using or trying them in my life for much. For writing code? Claude 3/4/4.5 Sonnet. For general questions? Gemini and GPT-4/o3/5. This meant that when models like Mistral’s Magistral, Alibaba’s Qwen, or OpenAI’s GPT-oss were released, I completely relied on benchmarks to understand their importance or usefulness: I had no real experience using them myself.
I’ve been running these open models on my laptop with LM Studio, Ollama, and Llamafile, but the jobs they handle best are usually the ones I need while I’m away from the laptop and on my phone.”
With this goal in mind, I started the journey to build and deploy what I call “BrakeChat”, an open-source clone of ChatGPT that is hosted and run entirely on my own hardware.
What exists to help bring this idea to reality?
Thankfully, this is not a novel concept! There are a bunch of amazing libraries that help make this a real possibility. However, tying all of the pieces together is no trivial task. This post is intended to share all the gory details about how to get this done, as well as what “gotchas” I found along the way. I found a number of great tutorials that helped for someone to quickly get something up and running, but the reality is that doing it in an organized, customizable fashion is not easy or quick (A trend with basically everything in software 😅 ) .
How it works
Here’s a diagram showing how it works.

In a nutshell:
- Run the LLM in LM Studio on a dedicated Mac Mini (M4 Pro Chip, 64GB unified VRAM), expose the LLM via the OpenAI API in my home private network.
- Run the BrakeChat application (Backend + DB + UI) on a dedicated Ubuntu desktop in my home private network.
- Add a connection to that locally exposed OpenAI API from the mac mini
- Configure Google OAuth for BrakeChat such that Google handles user authentication (that way I don’t create or manage user passwords, and rely on Google for its identity management).
- Use Cloudflare Tunnels to securely expose my website to the internet and utilize HTTPS alongside Cloudflare security features, accessing via chat.natebrake.com
- From my iPhone, access the website using the iOS 26 feature to save a progressive web app to the homescreen and have it behave like a real app from the app store.
The Gory Details
Tweaking OpenWebUI to become BrakeChat
OpenWebUI permits the custom styling of their application so long as you have 50 or fewer users. If you plan to deploy this to an organization with more than 50 users, you must purchase an enterprise license.
- I forked the OpenWebUI github repo , calling my fork brake-chat.
- Using Claude Code (Claude 4.5 Sonnet) to help me explore the codebase, I customized the naming and logos to be called BrakeChat: you can see the commits I made in my fork here.
I updated the Github action so that Github builds and publishes the Docker container for me:
https://github.com/njbrake/brake-chat/pkgs/container/brake-chat
Set up Cloudflare Tunnels
NetworkChuck has a great intro video about setting up cloudflare tunnels. However, it’s from 2022 and the Cloudflare UI has changed a bit, so it wasn’t completely accurate. In the end, I had to read the cloudflare tunnel docs here, and then follow their other docs that explain how to move a domain into Cloudflare. I own the nathanbrake.com domain, and it was stored and configured in AWS Route53. In order to use cloudflare tunnels I had to migrate that domain name into Cloudflare so that cloudflare is the domain name server for that endpoint.
With all that set up, I am ready to use their cloudflared service which will act as the secure tunnel from my ubuntu desktop! (I use the docker container)
Set up Google OAuth
I didn’t want to be responsible for storing or managing user passwords. Thankfully, OpenWebUI has support for OAuth! I decided to use Google as the OAuth provider. I followed https://docs.openwebui.com/features/auth/sso/#google which relies on Google’s documentation here for how to set it all up. The docs were accurate and I was able to follow them with no issues. As you can see in my docker-compose set up, I use environment variables to map the credentials into the BrakeChat docker container.
Fork the Notion MCP Server
Next up, I knew that I wanted my local LLM to be able to access Notion, because that’s where my wife and I recently started writing our notes. In order to access Notion from OpenWebUI, the current standard way to do this is via a Model Context Protocol (MCP) Server. Notion supports two MCP Servers. They have an MCP server that they host for you, and also an open source version that you can run yourself. The problem with the one that they host for you is that it relies on OAuth 2.0 as an authentication mechanism, and OpenWebUI currently doesn’t support MCP connections that require Oauth 2.0 support (or if they do, I tried and failed to understand how this would be expected to work). So, that led me down the route of running the open source version. I was pretty happy with this anyways, since running it myself gave me some more insight into what was happening.
After starting to use their MCP server, I quickly discovered a few things.
- The open source server does not have the same tools or tool descriptions as the Notion hosted version
- The open source server is possibly not maintained(?) (As of writing, there have been no commits to main of that repo for 3 months)
- Many tools that the MCP server exposes have no descriptions , which means that the LLM given the tool has to guess/infer what the tool is supposed to be used for.
- The tools return raw JSON which is verbose and explodes the context length of LLMs, especially smaller ones that I am running on the mac mini
- There is no option to filter what tools are available. For example if I didn’t want to expose a tool that lets someone view the users, I couldn’t hide that.
Because of this, I forked that repo to my own account, and updated it so that all tools have descriptions, added ability to filter which tools are exposed, and also updated it so that the endpoints return a clean markdown format instead of verbose JSON.
I updated the Github action so that Github builds and publishes the Docker container for me: https://github.com/njbrake/notion-mcp-server/pkgs/container/notion-mcp-server
Set up LM Studio on the Mac Mini
Getting near the end! The last piece of the puzzle in terms of components was loading and serving an LLM on the Mac Mini. I chose to use a separate hardware between the LLM and the server because running an LLM is very resource intensive and I didn’t want LLM inference cycles interfering with general BrakeChat application performance. The reason I chose LM Studio was because they support loading MLX LLMs: These are LLMs that have model weights converted to be maximally efficient and performant on Apple Silicon. Other applications like Ollama support running on Apple Silicon, but (as of time of writing) they don’t provide MLX model weights, so it’s not fully optimized for Apple hardware.
There were a few gotchas when setting this up:
- Make sure you select and filter to only download models with MLX weights: I avoided GGUF weights when possible.
- Make sure you edit the inference settings to allow the context size to be the max supported context length of the model, or whatever context length you’re comfortable with: since I have a standalone Mac running the LLMs, I was less concerned with the mac slowing down. The default context size supported was something like 12k, which in my opinion isn’t sufficient for modern agentic use cases. You need to edit this configuration in the model library settings. If you edit the setting when the model is already loaded, the inference setting gets reset whenever the model is offloaded due to inactivity (I found this out the hard way after hours of confusion about why the model kept forgetting what I was saying 🤣)
- Make sure you start LM Studio as a server and allow it to be accessed by other machines (docs). Otherwise, OpenWebUI won’t be able to reach it from inside your private network.
- In OpenWebUI, in order to get it to use gpt-oss-20b tool calling, I had to manually tweak the model settings in OpenWebUI to specify that OpenWebUI should use the
nativetool calling functionality of the gpt-oss-20b model.
In terms of which model to choose, I picked gpt-oss-20b, because it has MLX model weights, leading performance for its size, and easily fits on my 64GB of unified memory so that it will be able to handle long context lengths without running out of memory. I also started looking into Qwen3-coder, but at the moment I am not using the service for coding related tasks, so I went for the more general purpose gpt-oss model family.
Deploying OpenWebUI
Woo! All the pieces of the puzzle for BrakeChat are now ready. The last piece is to deploy! I used docker-compose in this repo: brake-chat-infrastructure. This way all of my settings are documented and I can easily make and monitor changes.
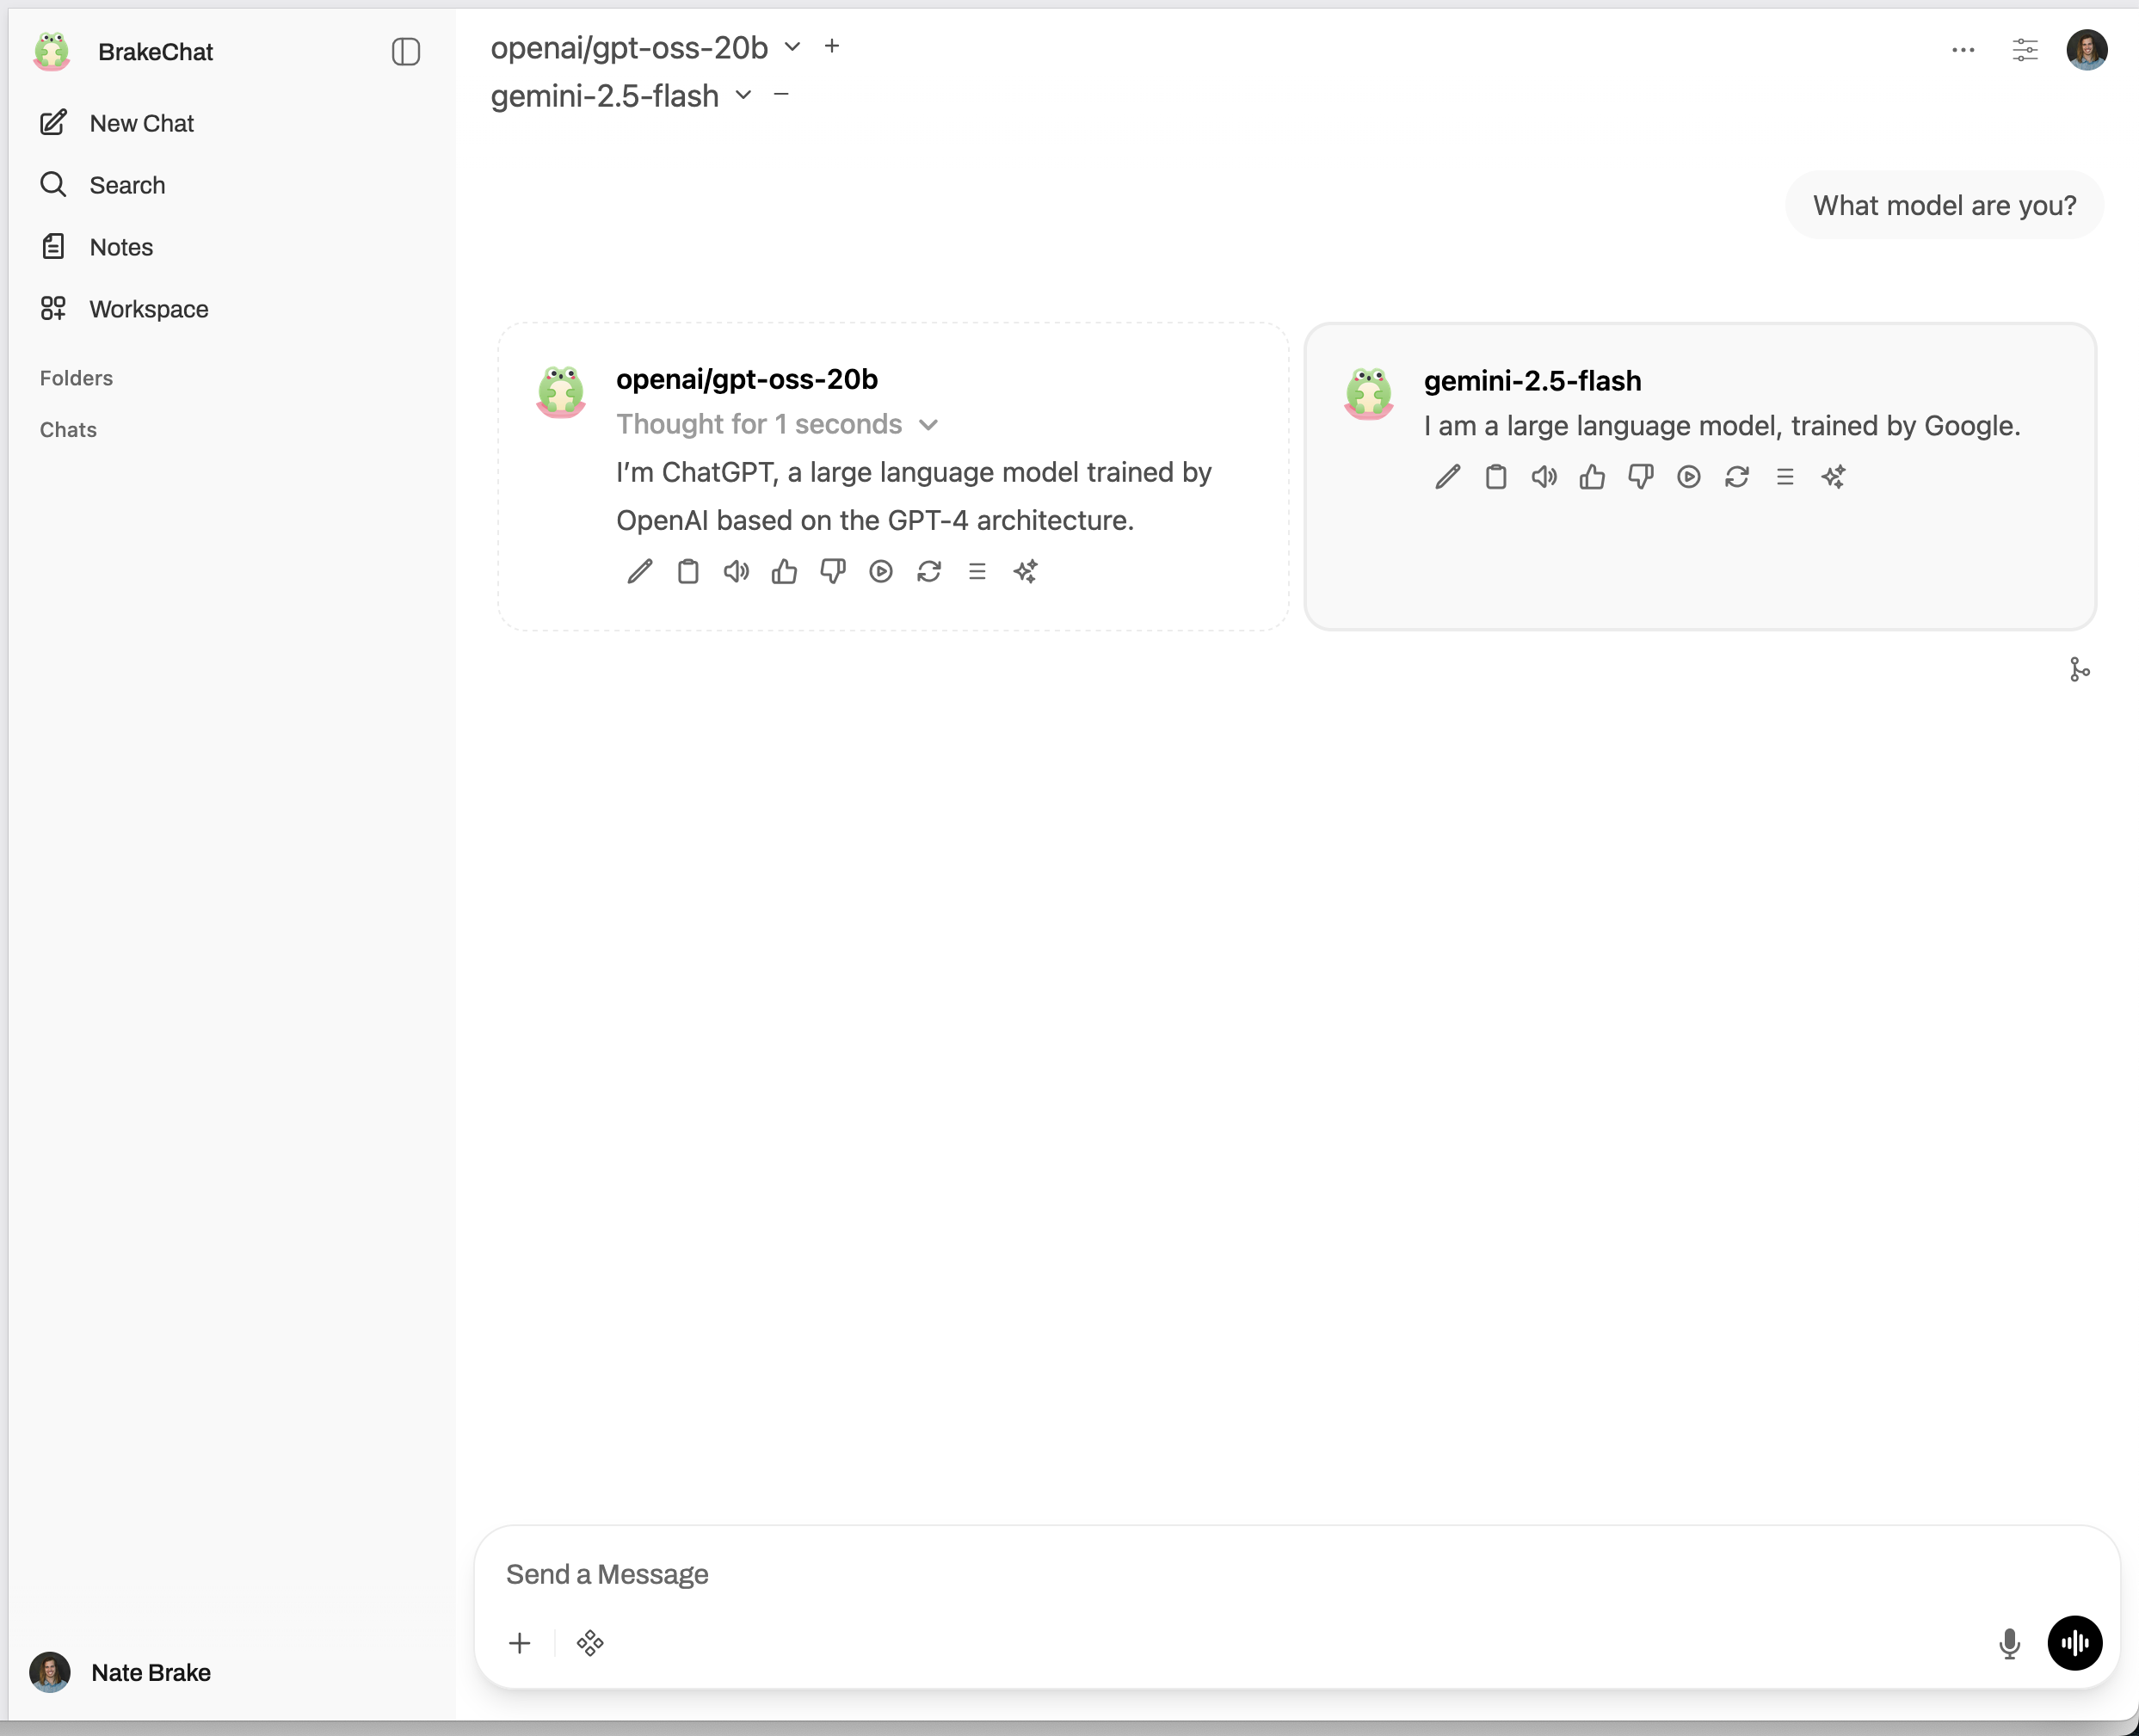
Final Look
It's all up and running! I've been using it for a few weeks now and really enjoying the learning experience to be able to see my LM Studio models alongside of state-of-the-art models. I won't get into any of my thoughts about their performance, other than saying that I am seeing plenty of examples where for simple tasks and questions, gpt-oss-20b is doing a perfectly fine job. But, give deploy a setup yourself and let me know what you think!
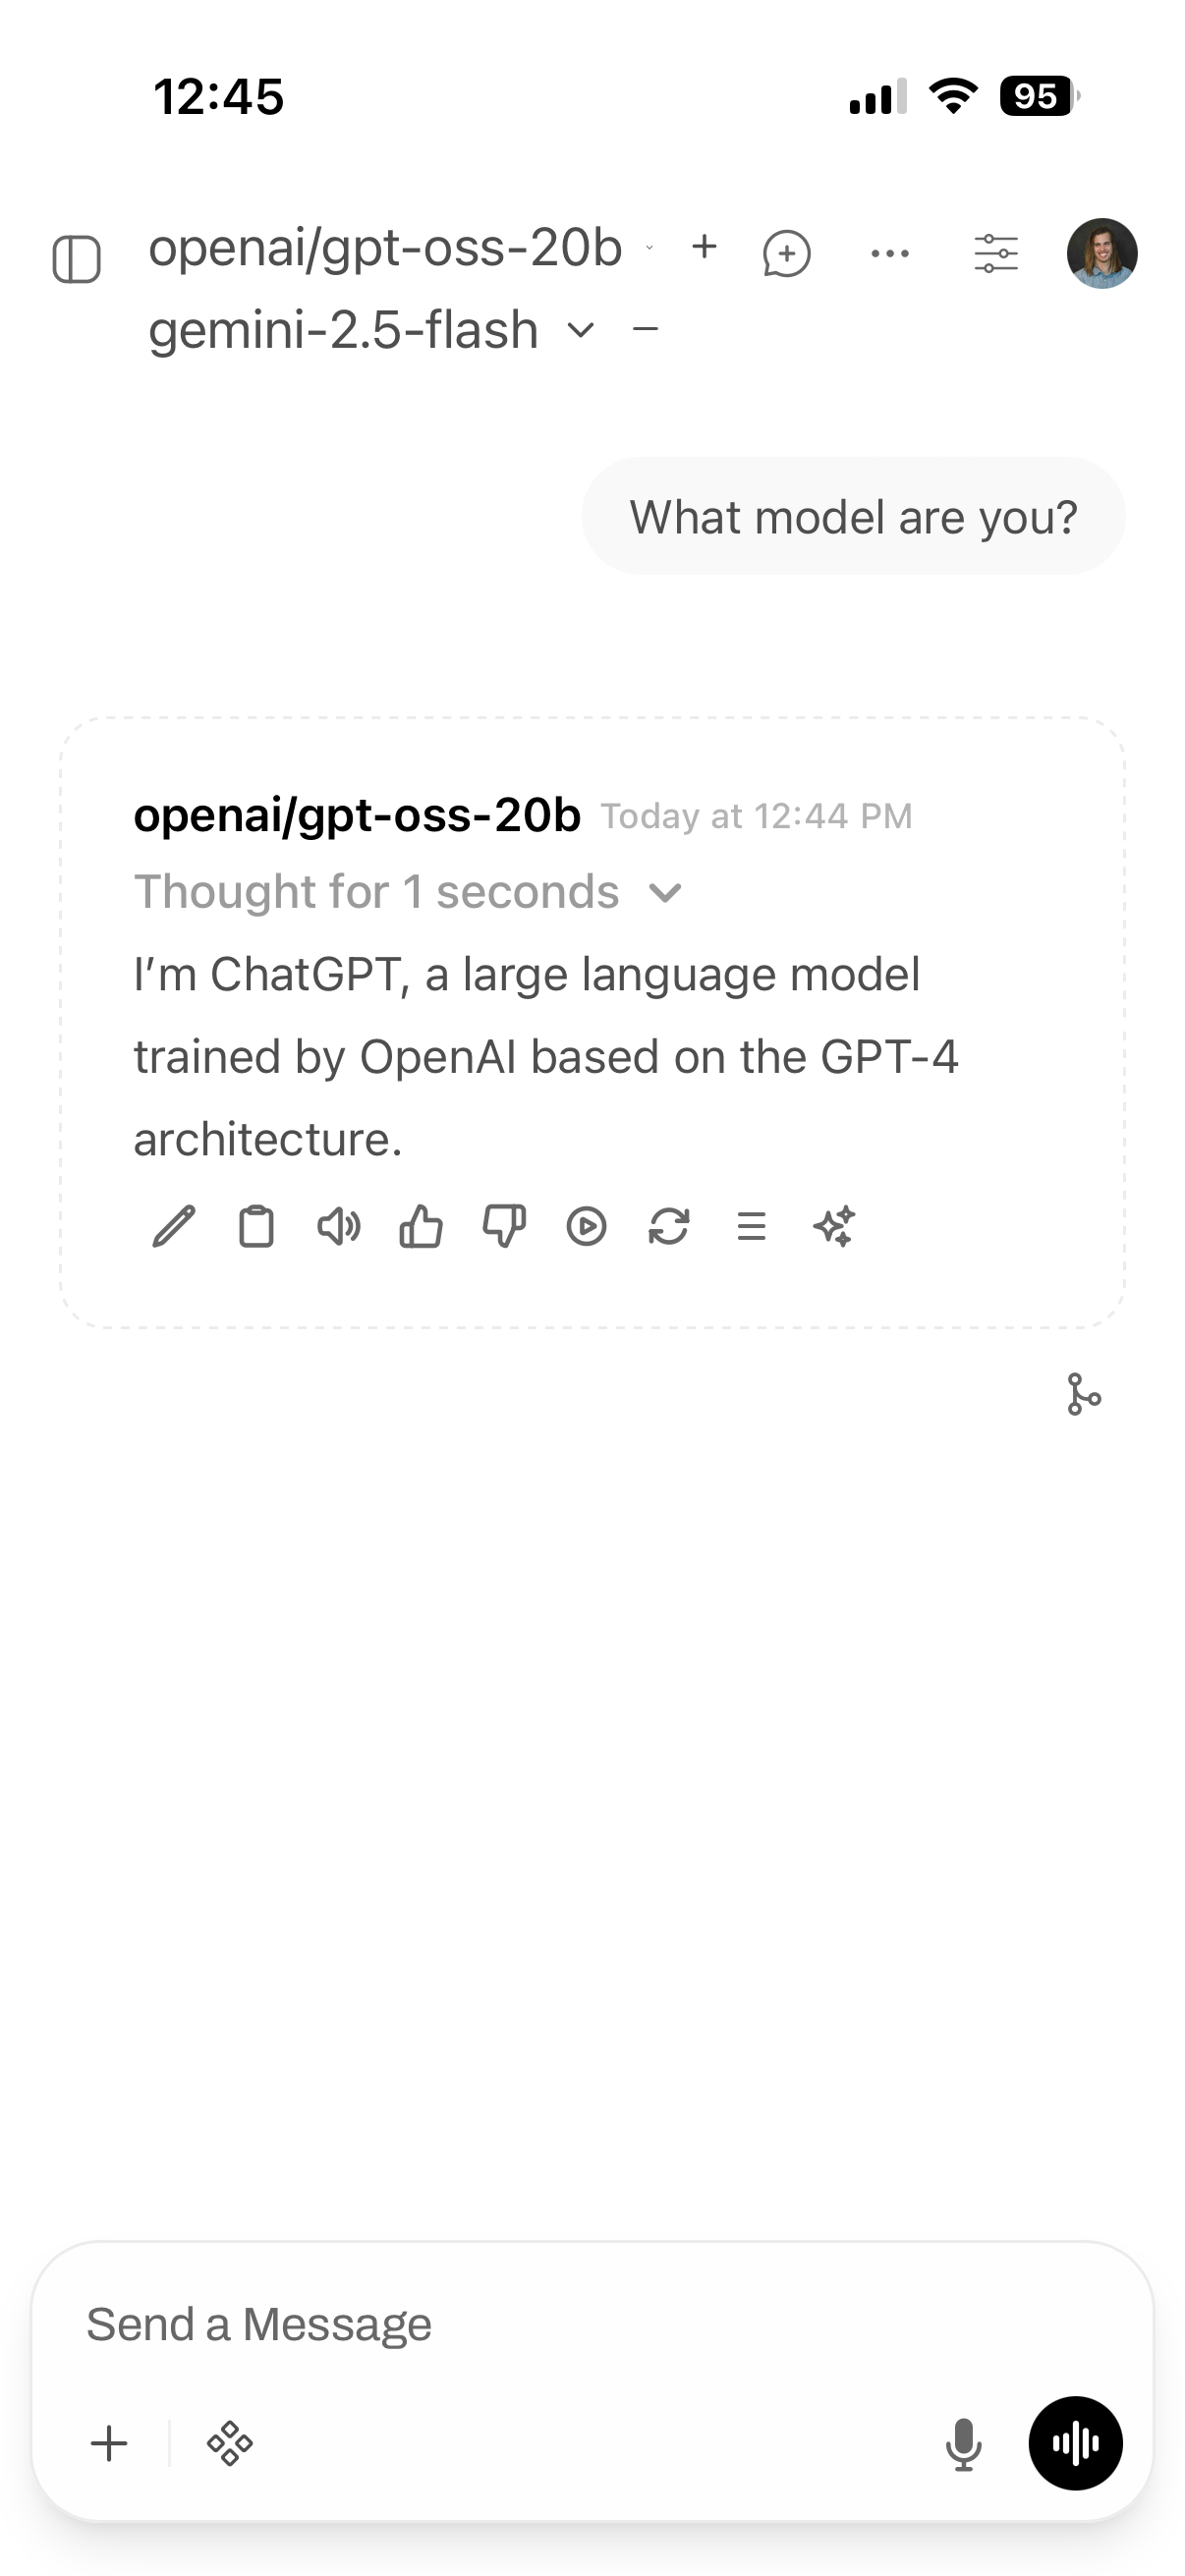
Look at that! And now, on my phone by navigating to chat.natebrake.com:
I hope you found all the details useful and encourages you to try out a build of your own private AI assistant. Thank you to all the amazing open source projects that allowed this all to be possible. Happy building!